One of our customers, David, used the 3M DI-NOC carbon fiber vinyl to wrap some of the accents inside the interior of his Subari STI. He wrapped the center console, the shift knob, and the air conditioning vents surround:\r\n\r\n


When you want the carbon fiber look without the cost
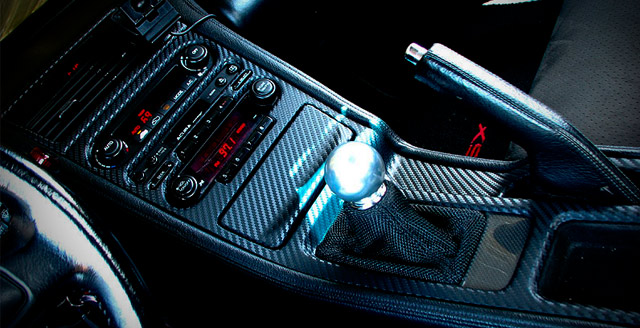
One of our customers, David, used the 3M DI-NOC carbon fiber vinyl to wrap some of the accents inside the interior of his Subari STI. He wrapped the center console, the shift knob, and the air conditioning vents surround:\r\n\r\n
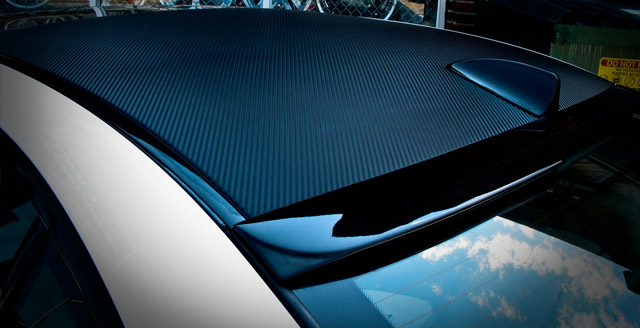
JS Design Factory/ProMax Motorsports out of Alhambra, CA have recently completed installing our 3M carbon fiber DI-NOC vinyl on the interior trim of a Bentley Continental GT. While I would start to consider using real carbon fiber, especially on a $100k+ vehicle, sometimes that’s just not realistic. That’s when 3M’s DI-NOC offers a great alternative.\r\n\r\n


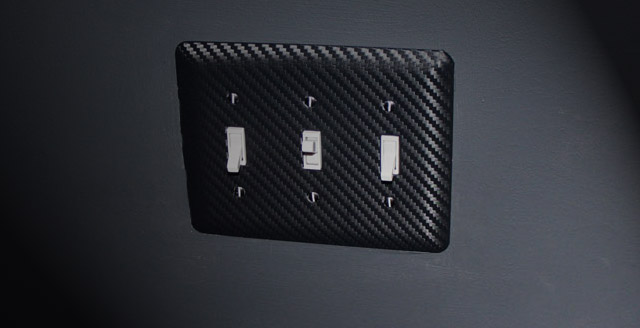
One of the first things we did when we were trying out the 3M DI-NOC carbon fiber vinyl was cover the lightswitch back plate. We had just painted the office a dark grey, so we though it would match perfectly…and it did 🙂 Here’s a little run through of what we did:\r\n\r\nWe used a 12″x12″ 3M DI-NOC CA-421 carbon fiber sheet (although we could have obviously used a much smaller piece), but you can see it in comparison to the switch plate:\r\n\r\n


Here at Carbon Fiber Film, we only sell genuine 3M™ DI-NOC™, the best carbon fiber vinyl in the industry.
3M™ DI-NOC™ is a high-end vinyl from 3M™ from their Architectural Finishes series. The vinyl can be installed on all sorts of surfaces, regardless of the curvature. This means there are an unlimited amount of applications, from the interior of your car to the back of your laptop.
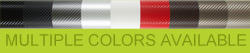
The original CA-421 (black) model that we sell gives a dry carbon look, though it's available in 9 different color/finishes. Contrary to initial belief, carbon fiber DI-NOC™ is not just a printed carbon fiber pattern, but in fact has a three-dimensional texture to it. This allows it to reflect light the same way that real carbon fiber would, making it the best real-world alternative to carbon fiber when you just want the look without paying a ton of money. There are plenty of other benefits that make the 3M™ DI-NOC™ carbon fiber vinyl so great, read our FAQ for more info!