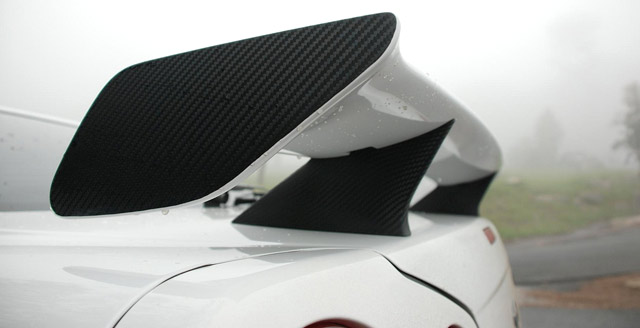
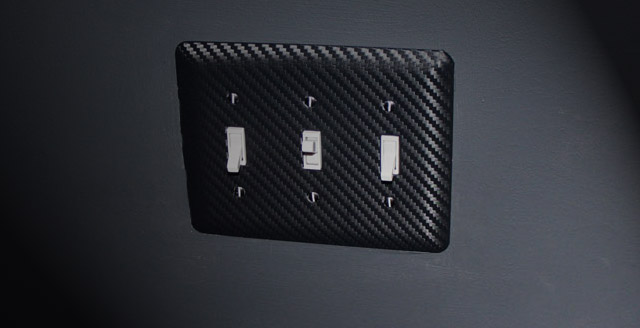
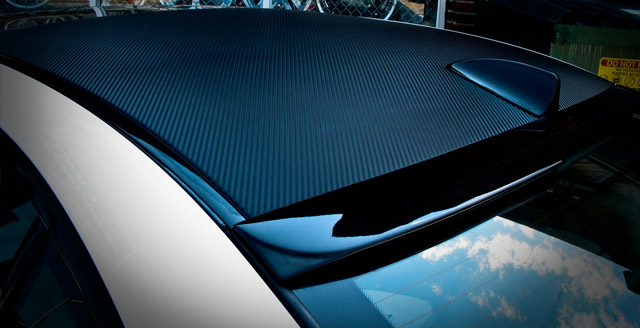
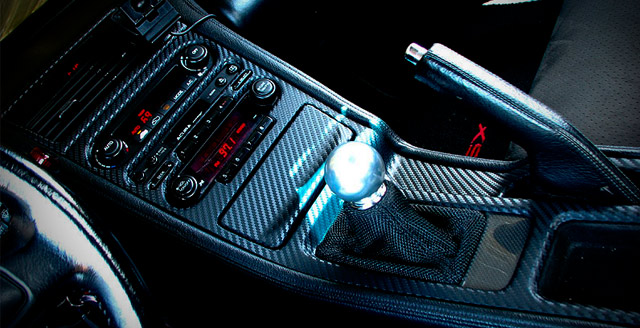
A couple weeks ago we made a post about how one of our customers clearcoated the vinyl. We decided to do a little experimenting ourselves in order to try and get a great result. What we found to work best was Valspar Clear Gloss Enamel, which you should be able to pick up at any local home improvement store:\r\n\r\n \r\n\r\nYou can see a few samples on the right-hand side of the above picture, here’s a closer shot followed by an explanation of the differences:\r\n\r\n
 \r\n\r\n
 \r\n\r\nAs you can see, the piece on the left is DI-NOC as it comes with no clear coat. The other two pieces were clear-coated, the middle has just one coat, while the right piece has three coats. The pictures make it hard to show how it really looks in person because it’s highly dependent on the lighting. You’ll need to take a look at the video below for a better idea. We also tried doing another with five or six coats, but it starts to get a bit blotchy and fills into the texture.\r\n\r\nWe only tested on these sample pieces so we’re not sure how it will hold up over time or once installed. Upon inspection it seems like it would be just fine. With the three coats it starts to bend back a little (although it’s still bendable without issues), I would suggest clearcoating once the material is installed rather than before. This may seem obvious, but I just want to make that apparent. Make sure and mask off any areas prior to spraying that you don’t want cleared.\r\n\r\nFor spraying techniques take a look at the below video:\r\n\r\n
Tags: clear, clear coat, clearcoat, gloss, glossy, valspar, Video


